Install on Railway
Railway runs Boopity for you. You won’t need Terminal, Docker on your computer, or a separate database.
Before you start
Section titled “Before you start”- Hosting: Railway’s Hobby plan starts at $5 per month, including $5 of resource usage. That is a minimum, not a spending cap. Check current pricing before deploying.
- Email: Have a Resend or SMTP account and an approved sender address ready. Boopity uses this service to send sign-in codes. Email setup help.
Boopity is free. Hosting, email, domains, and payment-processing fees are separate. Boopity may receive referral credit or commission when you deploy through this template.
Deploy Boopity
Section titled “Deploy Boopity”Deploy on Railway
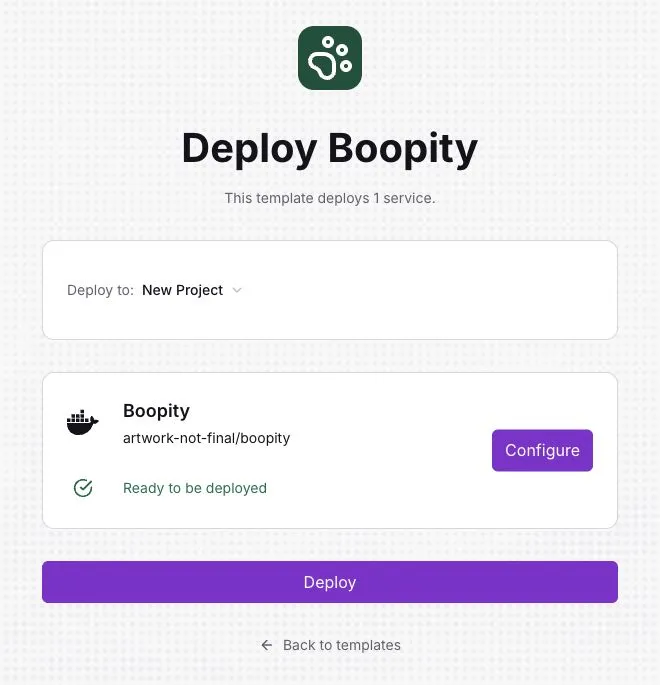
Sign in to Railway or create an account. Choose New Project and click Deploy. The Boopity service should already say Ready to be deployed; leave its configuration unchanged. If Railway asks you to choose a plan or add billing details, review the cost before continuing.
Wait for deployment to finish, then click the Boopity service. Deployment successful means your site is running. Railway supplies its own HTTPS address; you can add a custom domain later.
Open your private setup link
Section titled “Open your private setup link”In the service’s Deployments tab, select View logs. Find Finish setup and open the link beside it. If it isn’t clickable, copy the complete link into your browser’s address bar. On the welcome page, choose Start setup.
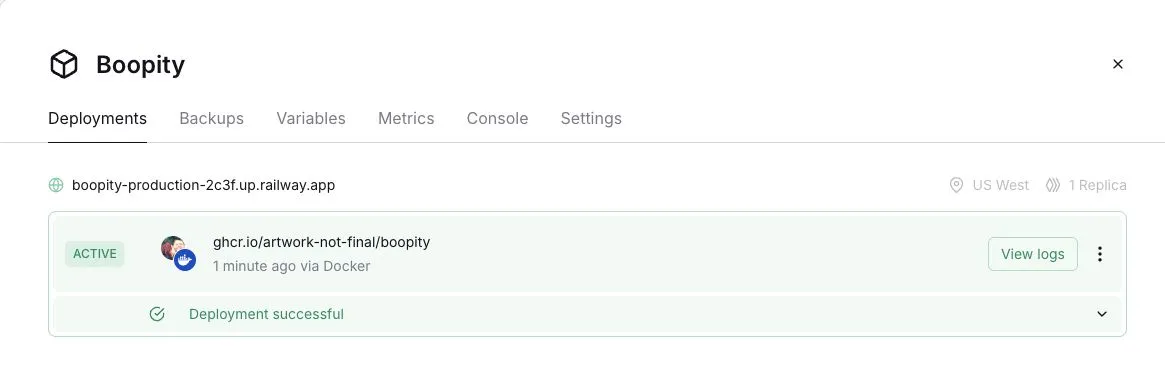
If the link expires before you start, use the deployment’s three-dot menu to Restart, then open the new link in its logs. If you’ve already started, return in the same browser. Help getting back into setup.
Your account
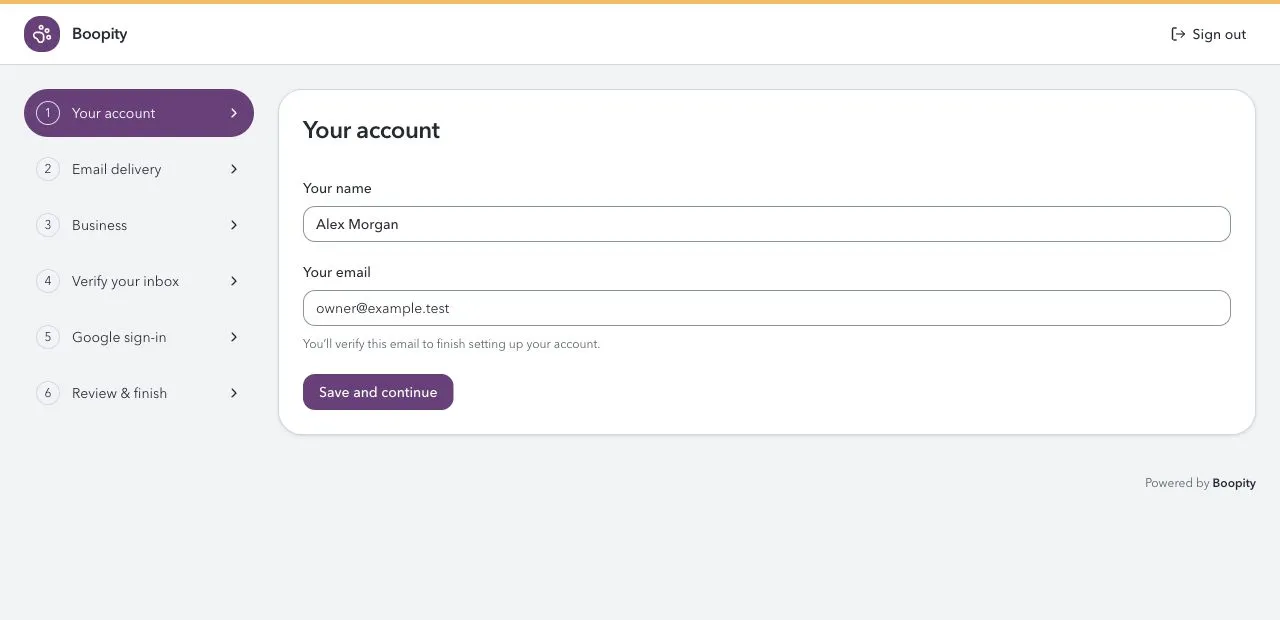
Section titled “Your account”Enter your name and an email address you can check, then select Save and continue. This will be your owner account.
Email delivery
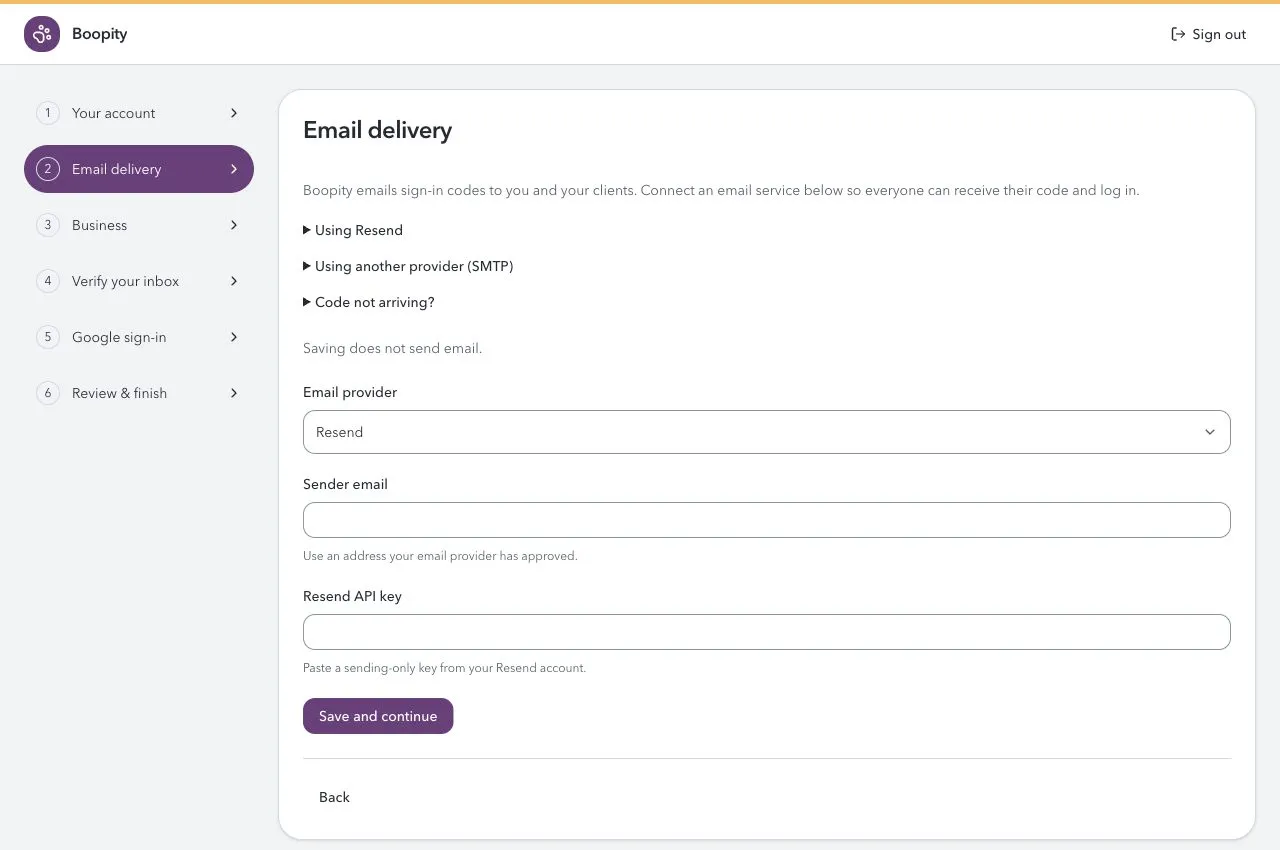
Section titled “Email delivery”Choose Resend or SMTP. Enter your approved sender address and the credentials from your email service, then select Save and continue. The help sections on this page explain each option. Keep credentials private and enter them only in your own installation.
Finish the wizard
Section titled “Finish the wizard”- Business: Add your business name, colors, currency, and time zone.
- Verify your inbox: Request a code and enter it to create your owner account. Check spam if it doesn’t arrive; wait for the timer before resending.
- Google sign-in: Optional. Skip it for now to use email codes, or connect Google with the same email as your owner account.
- Review & finish: Check your details and finish setup. You’ll arrive at Bookings with a getting-started checklist.
Next: Make your first booking, then invite a client.
Keep your records safe
Section titled “Keep your records safe”Your records and private keys live on the included Railway volume. Keep one running instance and don’t delete that volume. Automatic backups are not included. Set up backups before using Boopity for real clients.
The template uses a fixed release; updates are your choice, not automatic. You look after your Railway account, email service, backups, and updates. See community support if you need help.